September 19, 2026 Post by : Editorial Creative Paper Craft
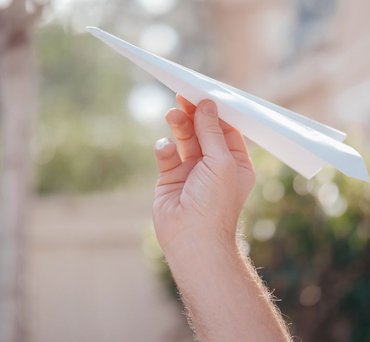
Teaching Flight Basics With Paper Airplanes: Lift, Drag, and Why That Nose Dive Happens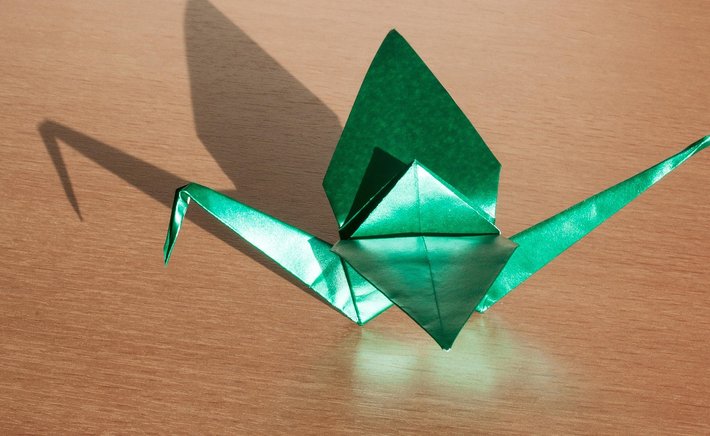
Some paper crafts sit on a shelf and look pretty. Others do something. This flapping bird belongs firmly in the second camp, and it has been delighting kids and adults for generations because the payoff is immediate: pull the tail, the wings beat. That little bit of motion turns a flat sheet of paper into a tiny machine, and it never gets old.
The best part is that you probably already have everything you need. One square of paper, a flat surface, and about ten minutes of patience. No glue, no scissors, no special tools. If you can fold a triangle and crease it sharply, you can build this bird.
Choosing the Right Paper
Paper choice matters more than most people expect. Standard printer paper works, but it tends to be a little stiff and springs open at the wrong moments. If you have origami paper on hand, use it. The thinner the sheet, the crisper your folds and the smoother the flapping motion will be. Kami paper, the kind sold in packs of assorted squares, is ideal.
If you only have printer paper, cut it into a square first. A 6-inch square is a comfortable size for beginners, while a 10-inch square is easier for small hands still developing fine motor control. Avoid cardstock entirely here. It folds poorly and the wings will be too heavy to move well.
One more tip: work on a hard, smooth surface like a table or a cutting board. Folding in the air or on a soft couch cushions your creases, and soft creases are the enemy of a bird that flaps properly.
Step by Step, Without the Confusion
Start with your square colored side down. Fold it in half diagonally to make a triangle, then unfold. Fold it in half the other way and unfold again. You now have an X-shaped crease pattern, which is your roadmap for the rest of the build.
Collapse the square into a smaller diamond shape using those creases, the same base you would use for a crane. From there, fold the two front lower edges into the center line to form a narrow kite shape. Flip the paper over and repeat on the back. These long, thin points become the neck and tail of your bird.
Now comes the move that makes the whole thing work. Take one of the narrow points and fold it upward, then reverse the fold so it points back down inside itself. This is called an inside reverse fold, and it is the only genuinely tricky step. Go slowly, and do not be afraid to open the paper slightly to see where the fold wants to go. Repeat on the other point.
Finally, fold the remaining two flaps down to form wings and give the body a gentle curve. Hold the bird under its chest with one hand and pull the tail forward and back with the other. The wings should sweep up and down. If they barely move, your folds are too loose or your paper is too thick. Try again with a thinner sheet and press every crease with a fingernail.
Teachers often use this project to introduce simple mechanisms, since the pull-tab action is a hands-on lesson in how motion transfers through a structure. But honestly, the best reason to fold one is that it is fun. Make a few in different colors, line them up, and see which one flaps the fastest.

Author

22 feb,2025
This incident opened my eyes to the value of Insurance in general, so I decided to examine my personal and business insurance.
Comment (3)
The payments are made directly from one person to another without passing through a central bank or clearing house.
22 feb,2025
ReplyTeaching Flight Basics With Paper Airplanes: Lift, Drag, and Why That Nose Dive Happens
23 feb,2025
ReplyFive Paper Airplane Tweaks That Turn a Wobbly Flyer Into a Smooth Glider
23 feb,2025
Reply